Keeping your coffee grinder clean is one of the most important maintenance tasks you can do, but, unfortunately, many people avoid it. We get it; cleaning your grinder is not fun and can be a pain, but if you don’t clean your grinder regularly, your coffee’s quality will suffer, and your grinder will not last as long as one that is given the proper care. Coffee grinders can be expensive, and neglecting them can significantly shorten their lifespan and lead to expensive repairs.
Luckily, cleaning a coffee grinder isn’t as burdensome as most people think. A quick cleaning once a week goes a long way to keeping your grinder healthy. Even one or two deep cleanings a year coupled with smaller regular maintenance is enough to keep your grinder operating at peak performance for years. In this article, we’ll cover both hand grinders and electric grinders, so we’ve got your back regardless of which type you own. If you want to learn how to clean a coffee grinder, this is the guide for you.

How do coffee grinders work?
Before we discuss specifics, it’s good to be familiar with how grinders work, what parts need the most focus, and why we need to clean coffee grinders in the first place.
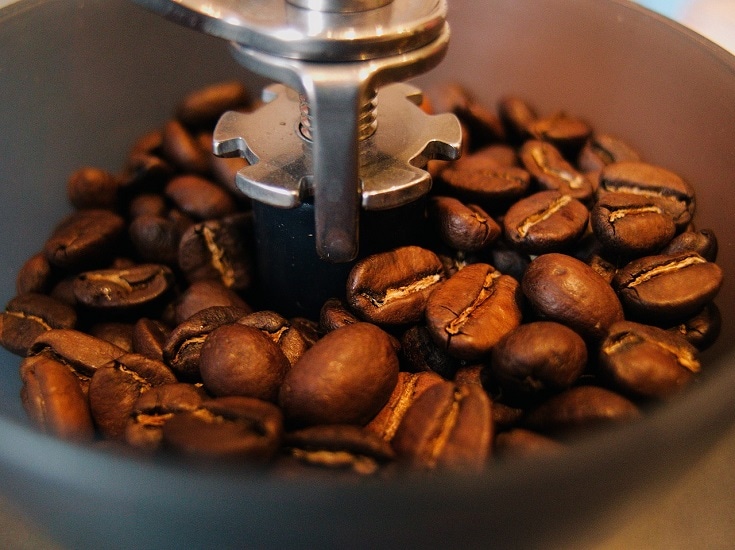
The burr is the part of the grinder that does the grinding. It’s usually made of steel or ceramic and looks like a tiny mill. A coffee grinder burr is a set of two pieces: an inner burr and an outer burr. The outer burr is usually fixed in place, while the inner burr rotates to grind coffee.
When you crank the handle on a hand grinder or the motor spins the burrs of an electric grinder, the outer burr rotates and funnels the beans through the gap between the burrs, grinding them up as they pass through. The burr is the most important part to keep clean since it is exposed to the coffee the most.
Why do we need to clean coffee grinders?
Over time, both burrs will become covered in fine coffee particles and natural coffee oils and will need to be cleaned. If you let these fine particles and oils build-up, your coffee might start to taste different. Old coffee stuck in your grinder imparts a bitter, burnt taste on your coffee and makes even fresh beans taste muddy and stale.
A sure sign that your grinder needs to be cleaned is when you notice your coffee doesn’t come out as flavorful and delicious as it used to, even when you haven’t changed beans. When this starts to happen, you’ll know it’s time for a deep cleaning.
What supplies do you need to clean a coffee grinder?
There are a few things you’ll need before you get started:
- Soft brush
- Towel
- Screwdriver (possibly, depending on your specific grinder)

How to Clean Hand Grinders (Manual):
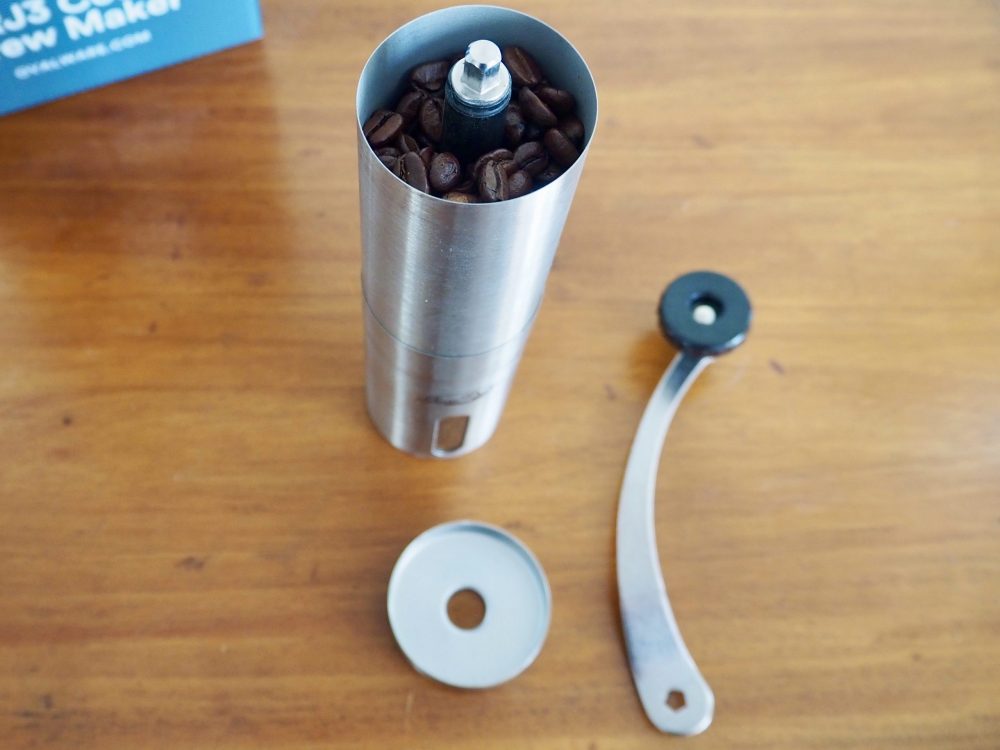
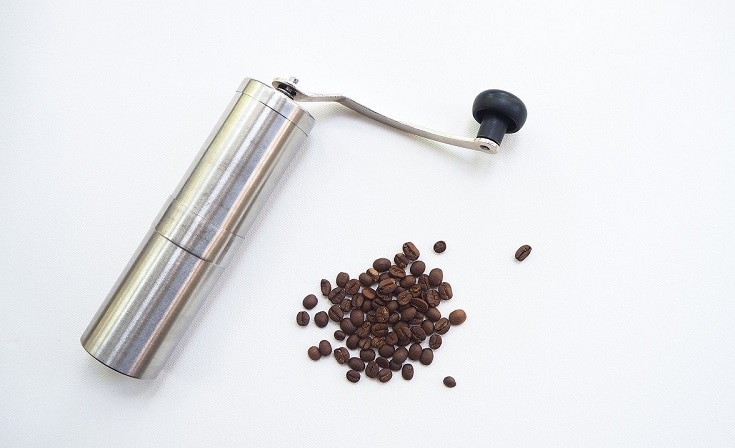
Hand grinders are usually simpler than electric grinders and are easier to clean. They have fewer moving parts than their electric counterparts, and taking them apart to access the inside is usually straightforward. You might need a screwdriver to get at the burr set – especially the inner burr.
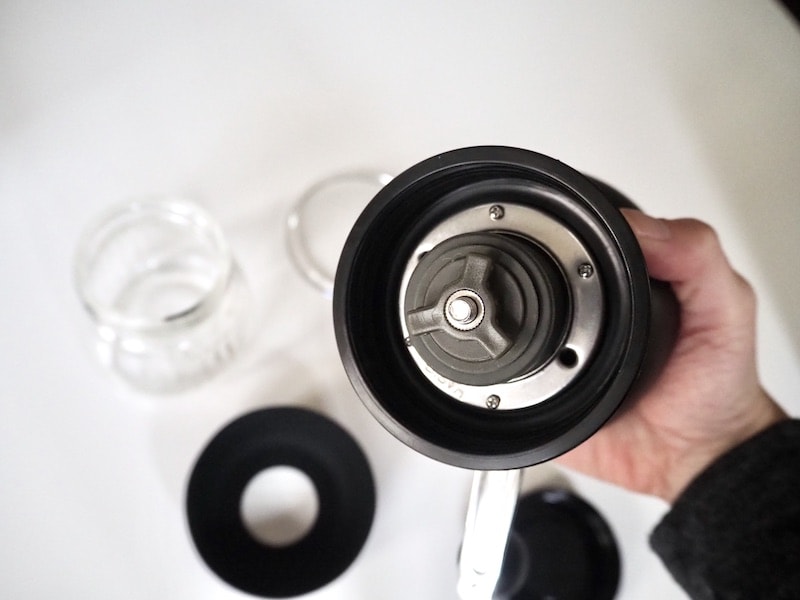
1. Disassemble your grinder
You should consult your owner’s manual for specifics before attempting to take your grinder apart, but once you have access to the burrs, the process is similar for all hand grinders. Most hand grinders are cylindrical with a handle at the top, and taking them apart involves removing a few screws and getting the burr set out of the grinding chamber.
2. Clean the burrs
Clean every surface of both burrs using a soft brush. You want to go slowly here and make sure you thoroughly get every nook and cranny. The goal is to wind up with spotless burrs that might get mistaken for being brand new.
VERY IMPORTANT: do not use water to clean steel burrs. Even if you think you can fully dry them, there is a good chance they won’t be entirely dry, and they’ll rust. It’s unnecessary to use water if you take your time with a brush.
3. Clean the grinding chamber
Cleaning the grinding chamber is much easier than cleaning burrs. If your grinding chamber is plastic, you might even be able to throw it in the dishwasher. The safest bet is to use a cotton towel or a clean rag to wipe down the inside of the cylinder. Even if there aren’t any grounds visible, it’s good to clean the chamber to remove oil deposits.
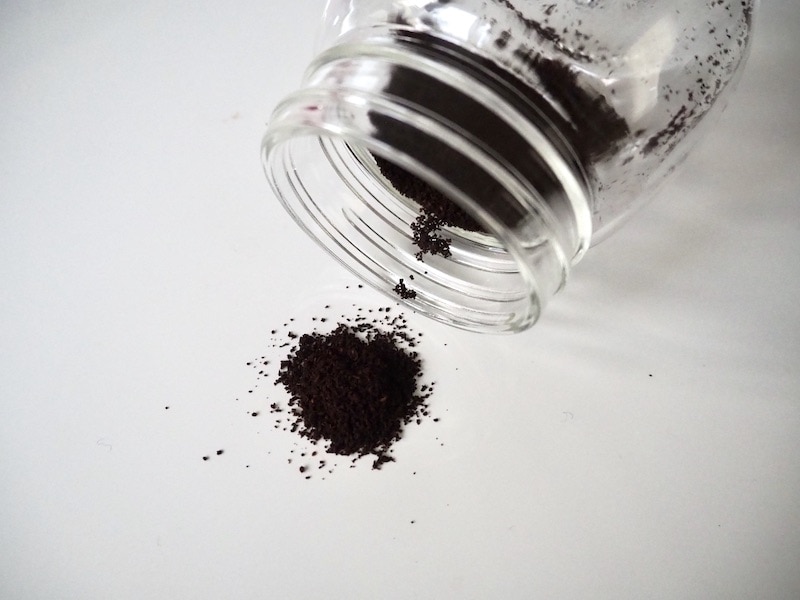
4. Clean the grind catcher
If your grinder has a removable cup to catch the grounds, don’t forget to clean that as well. These are usually one solid piece of plastic or glass and can be cleaned with soap and water or put in the dishwasher.
5. Reassemble your grinder
Reverse the process you used in step 1 to put your grinder back together.

How to Clean Electric Grinders:
Electric grinders can be more involved to clean than hand grinders, but the general process is very similar.

1. Unplug your grinder
This step is crucial. Unplugging your grinder ensures there won’t be any nasty accidents involving your fingers and the burrs.
2. Disassemble the grinder
Once again, you should consult your owner’s manual for specific instructions. Usually, the hopper is removable. Some grinders have hoppers that easily screw off on their own, while others require you to remove some screws first. The goal is the same as it was for the hand grinder: get to the burrs.

3. Dislodge any beans or grounds
Electric grinders tend to have more space inside where beans and grounds can get stuck than hand grinders. Turn your grinder upside down over a garbage can and give it a gentle tap. You might be surprised at how many old beans were hiding out in your grinder.
4. Clean the burrs
Use the soft brush to thoroughly clean the burrs, removing any fine particles that might be stuck to them.
5. Clean the hopper
The hopper is usually made of plastic or glass and can be cleaned with soap and water once it’s removed from the grinder.
6. Clean the grind catcher
Just like for hand grinders, if your grinder has a removable cup to catch the grounds, don’t forget to clean that as well. These are usually safe to clean with soap and water or put in the dishwasher.
7. Clean the spout
The last tricky place to clean on an electric grinder is the spout where the grounds exit the grinding chamber. Use the brush to remove any grounds that have built up around the opening.

8. Reassemble your grinder
Put everything back together and enjoy your good-as-new grinder!

General Coffee Grinder Cleaning Aadvice
We already mentioned this, but it is important enough to warrant repeating: don’t use water to clean steel burrs! If you don’t dry them completely, they will rust, and you’ll have to replace them. It’s better to avoid the risk by not using water at all.
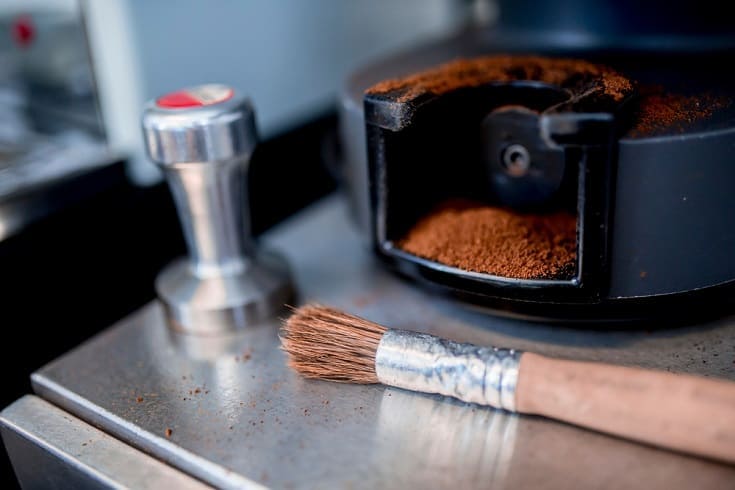
A great tool for cleaning both hand grinders and electric grinders is a soft-bristled paintbrush. Any brush will do, but a paintbrush can help you clean hard to reach areas.
Use care when handling the burrs. First, they’re very sharp and could easily cut your hand if you’re not careful. Second, they’re fragile, and damaging them will make your grind less consistent, resulting in muddier tasting coffee.
Avoid using anything hard to clean the burrs. Once the cutting surface gets chipped or dulled, there’s no way to repair them. Burr sets are the most expensive parts in a coffee grinder, and replacing them is often almost as expensive as purchasing a new grinder altogether.
Scheduling
One final tip is to perform smaller cleanings frequently. These can be as simple as wiping out the hopper and running a brush over the burrs without taking the grinder apart. You won’t get the grinder entirely clean, but it will buy you some time between deep cleanings.
We recommend you do a quick clean after each use and deep cleaning at least once every few months. We like to clean our grinder when we change beans since we tend to stick with the same beans for about a month or two. You could also play it by ear and only do a deep cleaning when you notice your coffee’s quality declining.

Cleaning Coffee Grinders: Conclusion
Cleaning your grinder regularly is essential if you want to produce consistently delicious cups of coffee. It’s not as scary as it seems at first, and with practice, it won’t take you very long. Always consult your owner’s manual before you clean your grinder for the first time and follow the advice in this article to make sure you’re getting the most out of your grinder.
We hope you found this guide helpful and that it has encouraged you to keep up with your grinder maintenance! A little effort goes a long way, and keeping your grinder healthy will pay dividends in the long run.
SEE ALSO: How to Get the Most Out of Your Burr Grinder
Featured Image: Rafael Koga Fotografia, Shutterstock