Your Keurig coffee maker is typically not a very hands-on machine. You have to clean and prime it regularly, but otherwise, it is a very simple machine to use — which is why so many people love theirs!
But if you’re not going to use your Keurig for a long time, you may want to drain the water out of it. This is more involved than just emptying the water tank, but don’t worry: we’ll show you to do it easily. Just follow this step-by-step guide and your Keurig will be free of water and ready to store before you know it!

Why Do You Need to Drain Your Keurig?
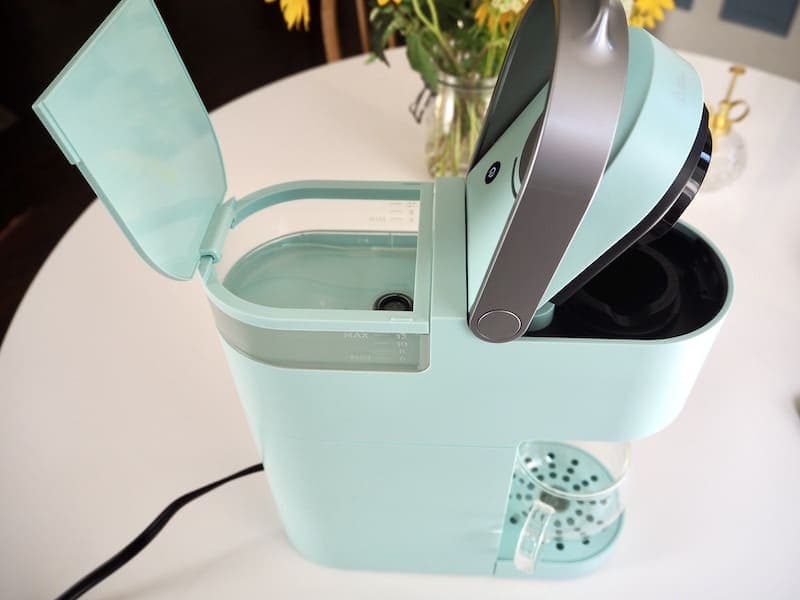
The most obvious water in a Keurig machine is in the reservoir, but there are also interior water tanks and tubes that you can’t see from the outside. If you’re not going to use your Keurig for a while — say you’re going on vacation or switching coffee machines — the leftover water can grow mold or bacteria inside the machine. If you’re going to store your Keurig somewhere cold, like a garage or shed, there’s also a chance that the water will freeze, potentially damaging the tubes or water tanks.

How Often Do You Need to Drain Your Keurig?
The good news? You don’t need to drain your Keurig all the time if you use and clean it regularly. That’s because you’re moving the water through the tanks and tubes. It doesn’t have a chance to grow anything scary, and regular cleaning and descaling take care of anything that does start to build up.
But if you’re going to leave your Keurig for weeks or months, it may be a good idea to drain it.
RELATED: Keurig Running Slow? Try These Fixes!

How to Drain a Keurig: Guided Steps
The process for draining a Keurig depends on which model you own. Scroll down to find your Keurig and the steps to drain it:
How to Drain a Keurig Mini, Mini Plus, or K15:
1. Turn off the machine but leave it plugged in.
Don’t unplug the machine, but press the power button and wait for the machine to turn off.
2. Put a mug under the brew head.
Place a large mug under the brew head. This will catch all of the water draining from the machine.
3. Lift the brewer handle.
If there is water in your outer water reservoir, lifting the brew head will drain it into the interior of the machine. There’s a hot water reservoir inside the machine, and the water to be drained will need to pass through this. If there’s a lot of water in the outer water reservoir, you may need to do this multiple times.
After 5 seconds, the water should start to drain into your coffee mug. Wait until it’s fully drained and then discard the water.
SEE ALSO: Our Complete Review of the Keurig Mini
How to Drain a K-Classic or Keurig 2.0:
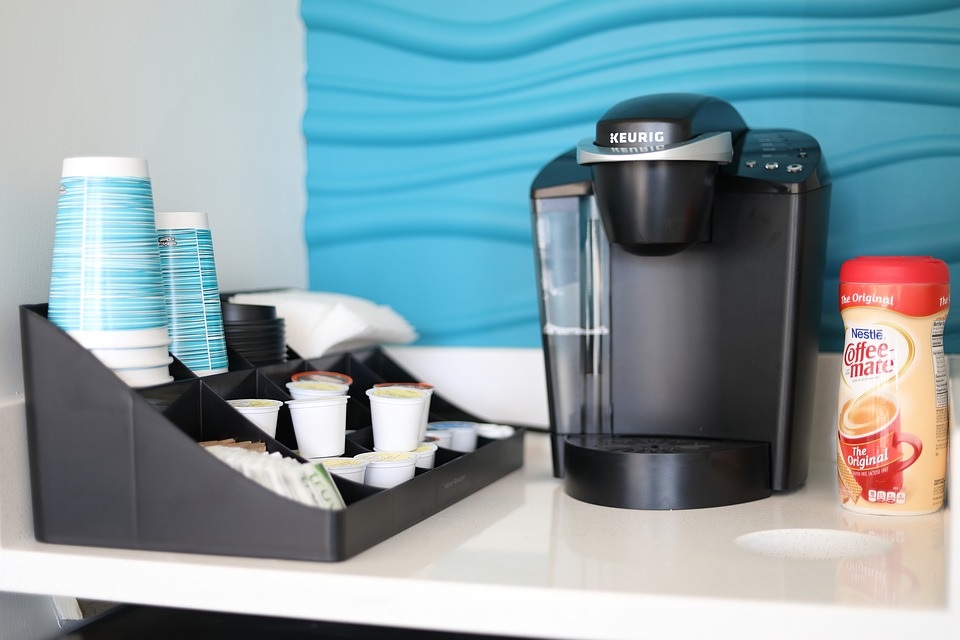
Unfortunately, the K-Classic and Keurig 2.0 models aren’t designed to be fully drained. Though there are some DIY methods available online, trying these will likely invalidate your warranty and may cause damage to your brewer.
What you can do is make sure your Keurig’s external water tank is empty. If it’s removable, take it off and let it dry. You can store the water tank separately, and Keurig recommends storing the machine in a temperature-controlled area that won’t get too hot or cold. If your stored machine freezes, the internal tubes could become damaged.
How to Drain a K-Slim or Keurig Rivo:
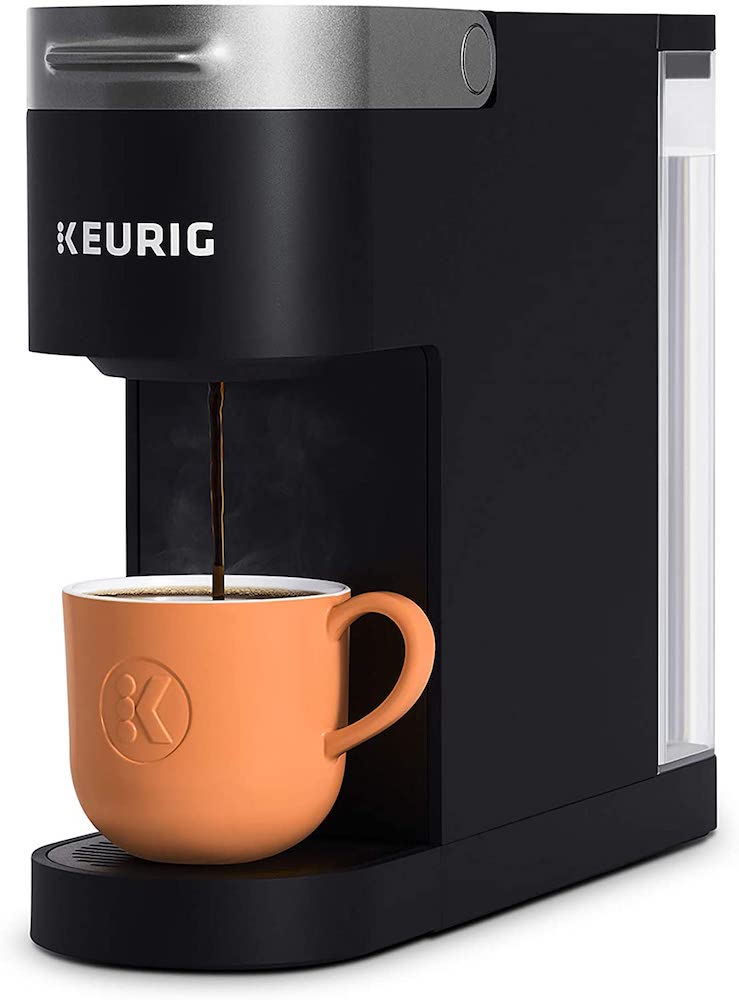
Do you own a Keurig K-Slim or Rivo? These simple coffee makers don’t have internal water reservoirs, so they’re much easier to drain. All you need to do is empty the external reservoir!

How to Drain a Keurig
Equipment
- Coffee mug
Instructions
Turn off the machine but leave it plugged in.
- Don’t unplug the machine, but press the power button and wait for the machine to turn off.
Put a mug under the brew head.
- Place a large mug under the brew head. This will catch all of the water draining from the machine.
Lift the brewer handle.
- If there is water in your outer water reservoir, lifting the brew head will drain it into the interior of the machine. There’s a hot water reservoir inside the machine, and the water to be drained will need to pass through this. If there’s a lot of water in the outer water reservoir, you may need to do this multiple times.
- After 5 seconds, the water should start to drain into your coffee mug. Wait until it’s fully drained and then discard the water.

Draining Your Keurig: Conclusion
There you have it: easy ways to drain your Keurig coffee maker. We have covered all of the Keurig models, so you should be able to find the right steps. One big thing to keep in mind is that you should store a Keurig in a cool, dry place — where it will not freeze. With some models, you won’t be able to fully drain the water, so it’s important to take care of the interior tubes and water tanks.
Looking for a new Keurig machine? Read our list of this year’s best Keurig models!
See Also: Keurig Says Prime? Here’s the Fix!