When your Keurig stops brewing, you may be at a loss. How can you get back to easy, one-touch cups of coffee — and prevent this from happening again?
There’s a simple solution: you’ll need to learn how to unclog Keurig machines! We’ve put together this easy guide to help you unclog your brewer, no matter which Keurig model you own. Scroll down to find our tips for quickly and easily unclogging your Keurig:

Why Unclog Keurig Brewers?
How do you know your Keurig is clogged? You’ll typically discover a clog in your Keurig coffee maker because it stops brewing coffee. Clogs can occur in your machine’s interior tubing or needle, and they’ll generally stop the water flow. No flowing water means no coffee brewing!
How to Prevent a Clogged Keurig Brewer
Regular maintenance is the best way to keep your Keurig from getting clogged. That means never leaving used K-Cups in the brew head, running regular descaling cycles, and keeping your Keurig’s needle clear. Luckily, none of these processes are difficult! You can follow the steps below to easily unclog your Keurig — and get back to brewing delicious coffee.
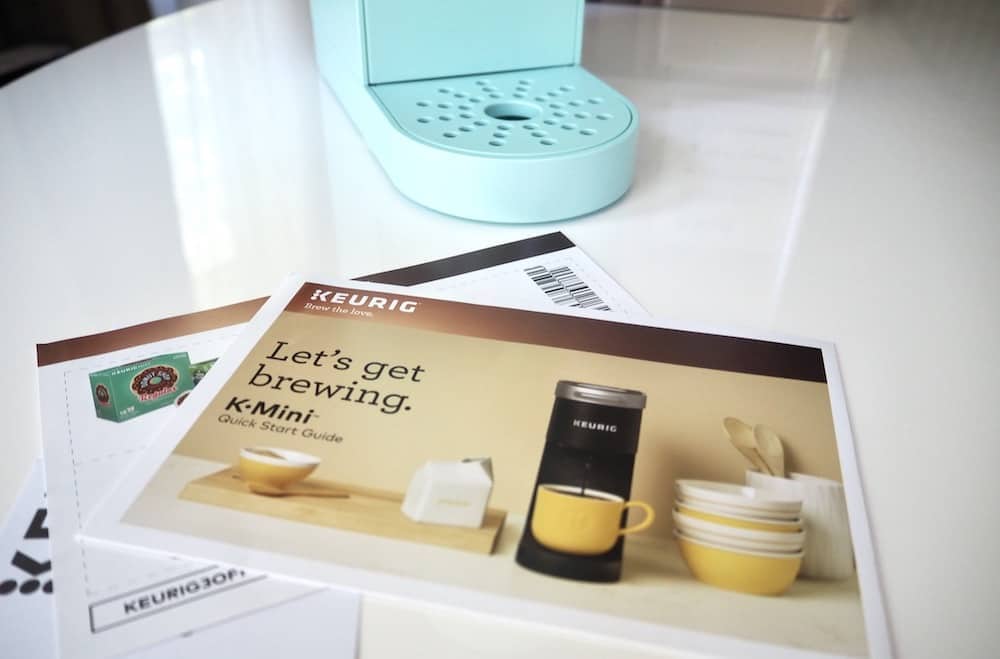
How to Unclog a Keurig Mini:
- Dish soap
- Water
- White vinegar or Keurig descaling solution
- Sponge or dishcloth
- Rinse pods or safety pin
- Keurig brewer maintenance accessory tool (for Keurig 2.0 models)
1. Clean the drip tray.
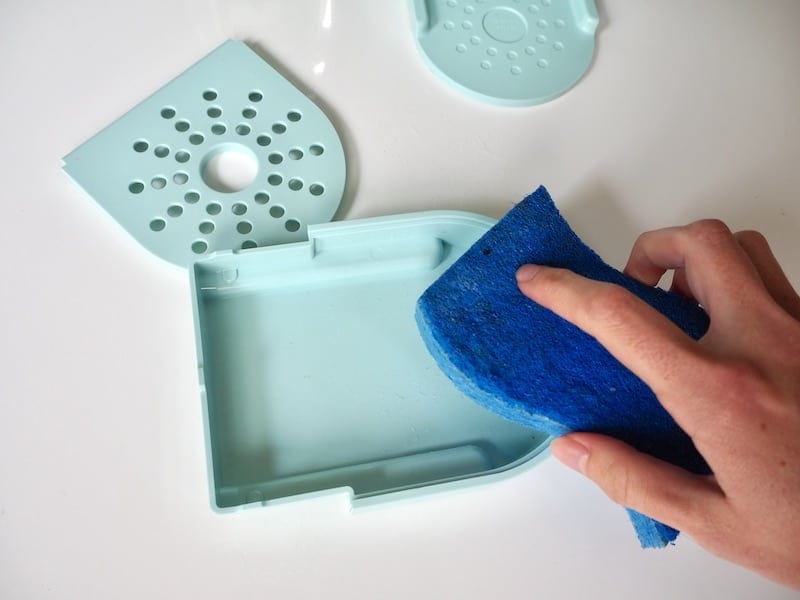
The Keurig Mini’s drip tray is removable, so gently take it off and wash it with soap and water.
2. Unclog the needle.
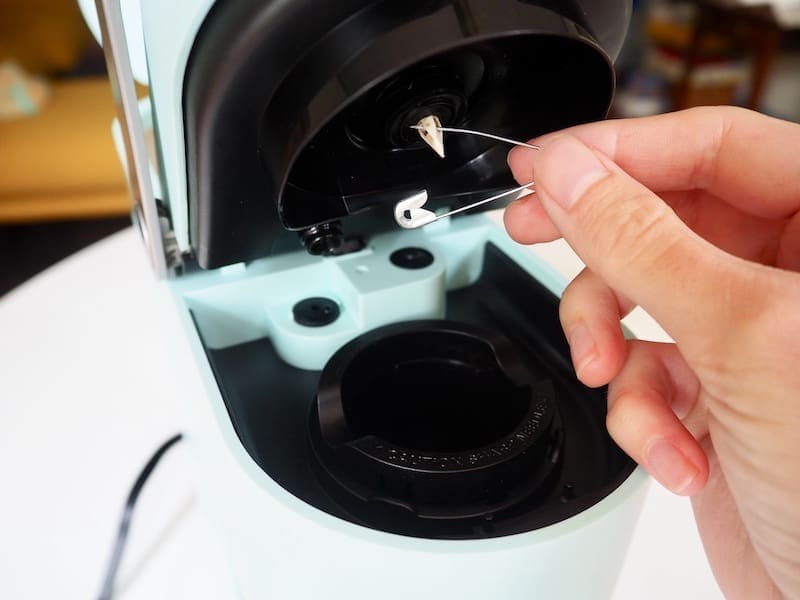
There are two simple ways to do this. If you’ve purchased a Keurig brewer maintenance kit, place one of the rinse pods into the K-Cup holder, fill the water reservoir, and push the brew button.
Another option is to use a paper clip or safety pin. This method is slightly more involved, and you will need to be careful of the sharp needle. Open the brew head and look closely at the needle. If you see coffee grounds built up, take your pin and carefully scrape out the debris.
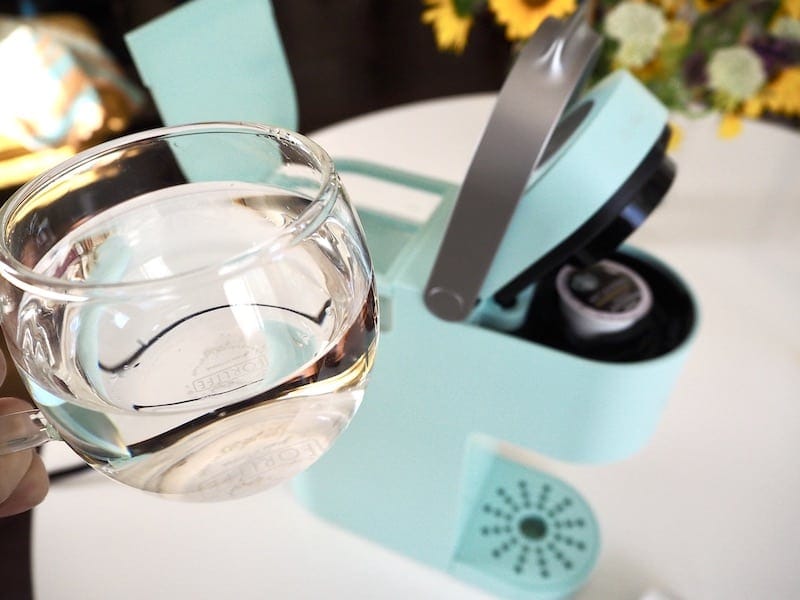
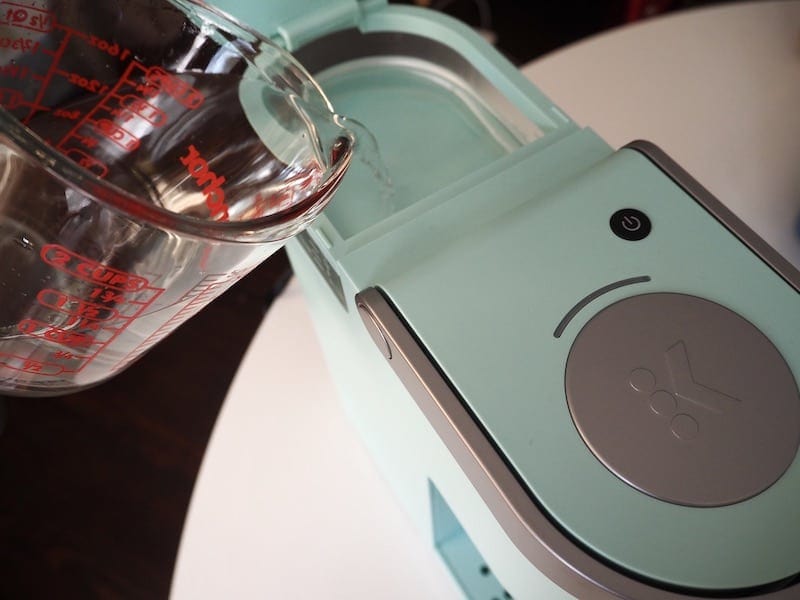
3. Run a descaling cycle.
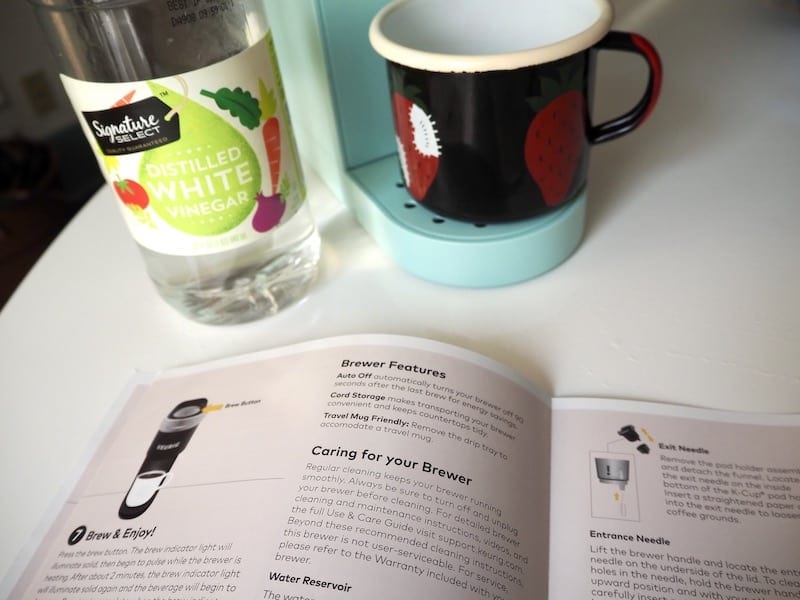
Now it’s time to descale your brewer, which will clear out any debris from inside the machine. Pour Keurig descaling solution or white vinegar into the water reservoir, filling it halfway. Then fill the rest of the way with water and push the brew button. Discard the cleaning solution.
RELATED: How to Clean a Keurig with Vinegar or Descaling Solution
4. Run a rinse cycle (or three).
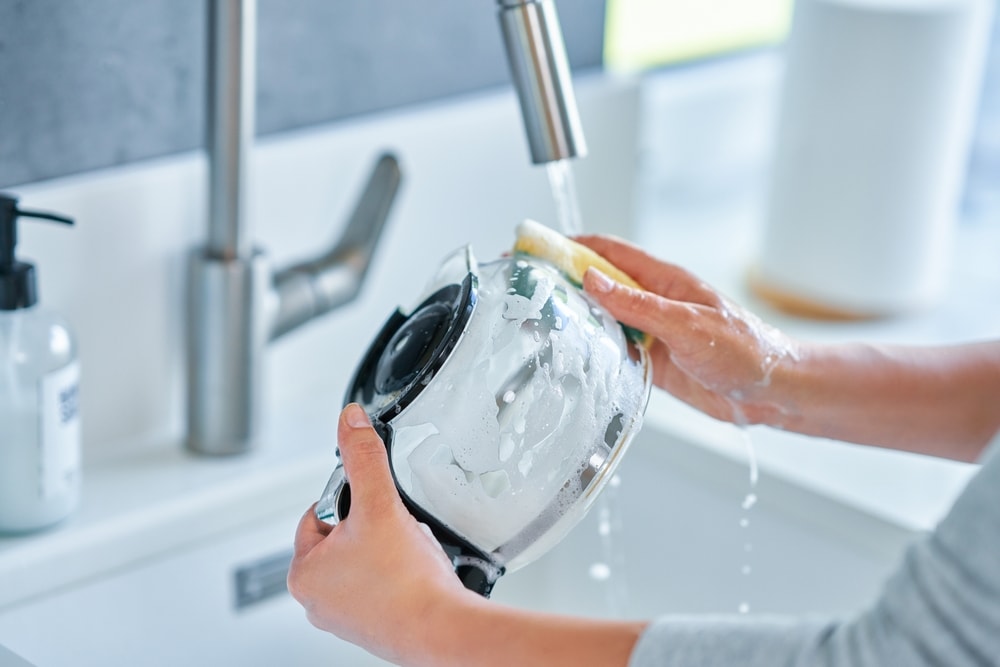
You don’t want to taste cleaning solutions in your coffee, do you? That is why you will want to run a cycle or three of just water through your brewer. Fill the reservoir with water and don’t add a K-Cup. Push the brew button and discard the water that comes out.
5. That’s it!
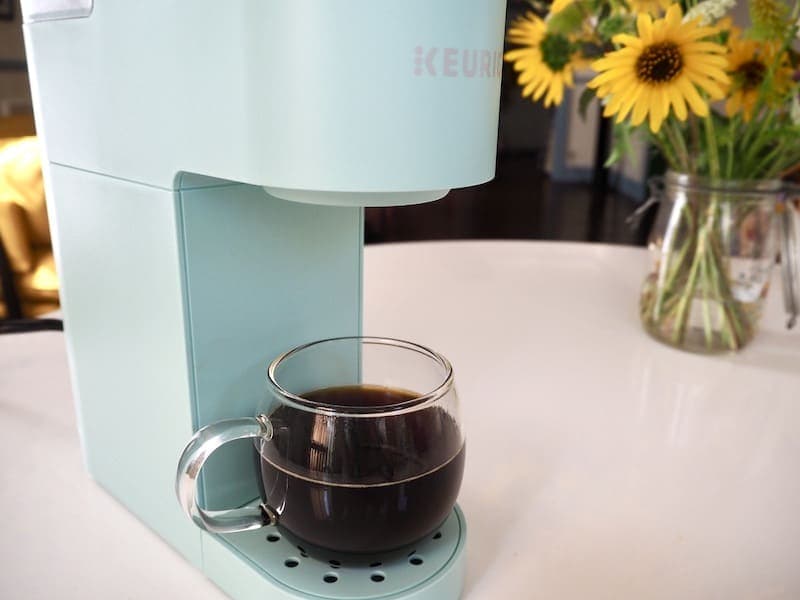
Your Keurig Mini should now be fully unclogged and ready to brew.

How to Unclog a Keurig 2.0
Do you have a Keurig 2.0? You can either follow the steps above or use Keurig’s brewer maintenance accessory tool, which may have come with your brewer. If you don’t have one, you can find them on the Keurig website.
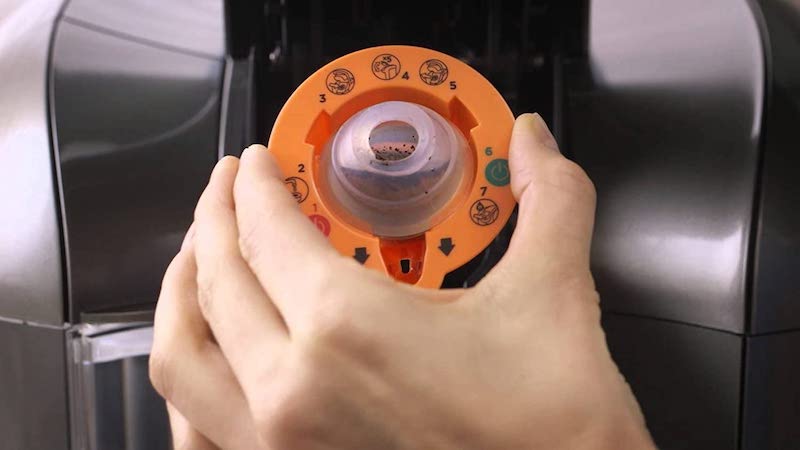
Here’s a quick description of how to use this tool — but you can find our in-depth guide here.
Fill the plastic ball in the center of the tool with water. Place the tool in your Keurig’s cupholder, making sure the arrows point at you. Open and close the brew head five times. Then remove the tool, dump it out, and run a rinse cycle on your brewer.

How to Unclog a Keurig Coffee Maker
Equipment
- Sponge or dishcloth
- Rinse pods or safety pin
- Keurig brewer maintenance accessory tool (for Keurig 2.0 models)
Materials
- Dish soap
- Water
- White vinegar or Keurig descaling solution
Instructions
Clean the drip tray.
- If your Keurig's drip tray is removable, gently take it off and wash it with soap and water.
Unclog the needle.
- There are two simple ways to do this. If you’ve purchased a Keurig brewer maintenance kit, place one of the rinse pods into the K-Cup holder, fill the water reservoir, and push the brew button.
- Another option is to use a paper clip or safety pin. This method is slightly more involved, and you’ll need to be careful of the sharp needle. Open the brew head and look closely at the needle. If you see coffee grounds built up, take your pin and carefully scrape out the debris.
Run a descaling cycle.
- Now it’s time to descale your brewer, which will clear out any debris from inside the machine. Pour Keurig descaling solution or white vinegar into the water reservoir, filling it halfway. Then fill the rest of the way with water and push the brew button. Discard the cleaning solution.
Run a rinse cycle (or three).
- You don’t want to taste cleaning solutions in your coffee, do you? That’s why you’ll want to run a cycle or three of just water through your brewer. Fill the reservoir with water and don’t add a K-Cup. Push the brew button and discard the water that comes out.
- Your Keurig Mini should now be fully unclogged and ready to brew.

Conclusion
There you have it: simple steps to unclog Keurig coffee makers. These machines might seem simple, but they do need regular cleaning and maintenance. No one wants to stumble out of bed in the morning and discover a broken coffee maker! We hope this guide helps you avoid and fix issues with your Keurig machine.
You may need some cleaning tools, like Keurig’s brewer maintenance kit (which includes convenient needle rinse pods) or brewer maintenance accessory tool. These can make your job a lot easier — but they’re not strictly necessary. Whatever method you choose, your Keurig will be back in working order in no time!
Other Keurig Troubleshooting Guides: